
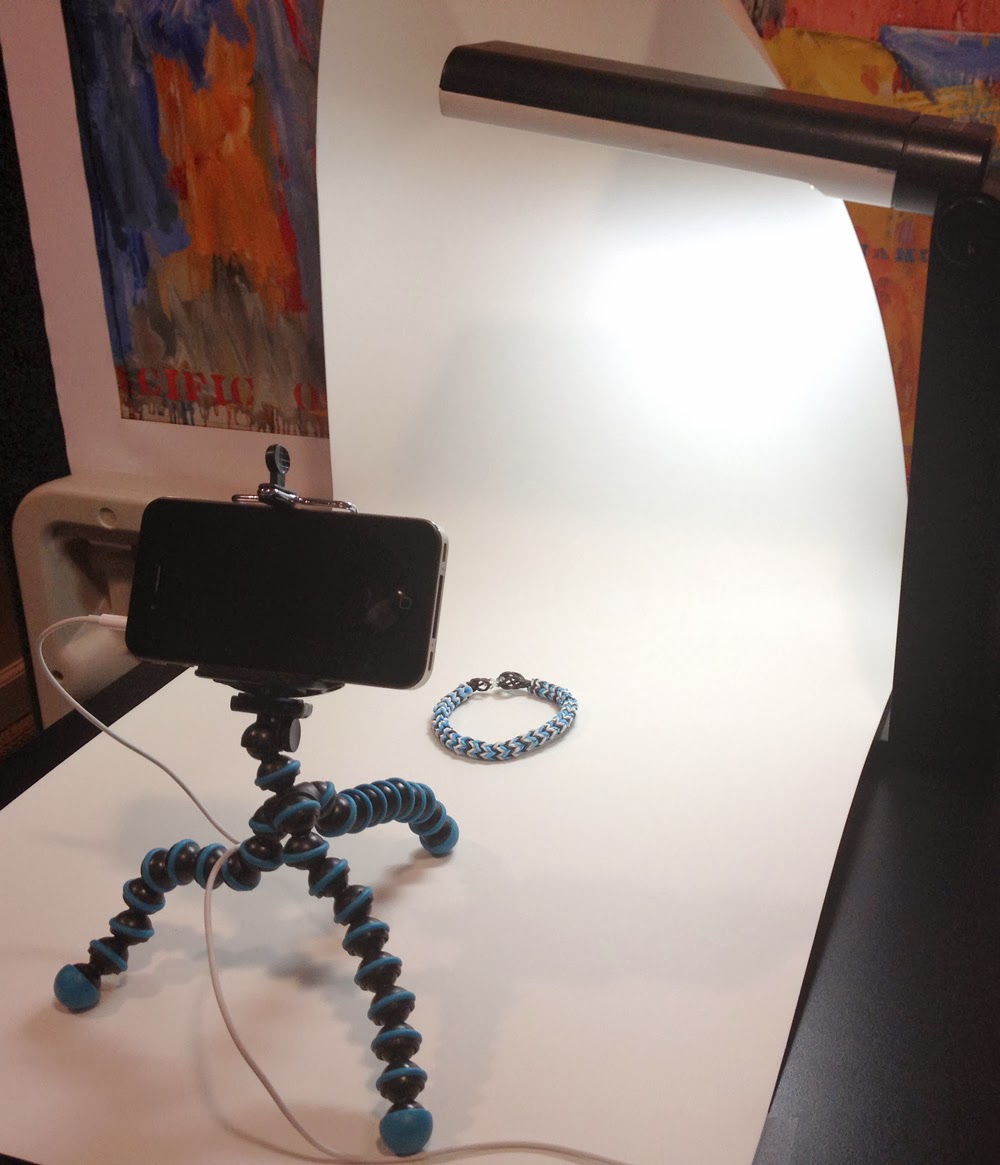
1. I have an old iPhone 4 lying around. It's actually broken -- something with the speaker and the microphone. So it's useless for making phone calls. But it's fully functional as a camera.
2. I purchased a cheap tripod for the iPhone. Gorrilapod sells one for about $20. Amazon has some as cheap as $5.
3. You can use the Apple earbuds with the remote as a cable release. I learned of this from this great buzzfeed article. Pressing the "+" button on the remote activates the camera shutter. This makes it really easy to avoid camera shake/blur as well as take multiple stop-motion photos where the camera remains stationary.
4. An ordinary sheet of white paper. I had some lying around the house, but you can easily pick up a large sheet for less than $1 at any office supply store. I taped it down to my desk and to the wall behind it, allowing for a subtle sloped curve, which mimics the setups you'd find in a professional photo studio. It results in photos that seem to have no background.
5. I took my desk lamp and used it as a light source. I can easily position the object and the light to get just the right shot.
No comments:
Post a Comment